
413 字
2 分鐘
Azure DevOps 部署到 VM (4) — Deploy Config
前三篇我們講到如何部署網站,這一篇繼續講同一台Server上,該如何把NGINX config也做DevOps,這樣就可以在Repo上維護NGINX了。
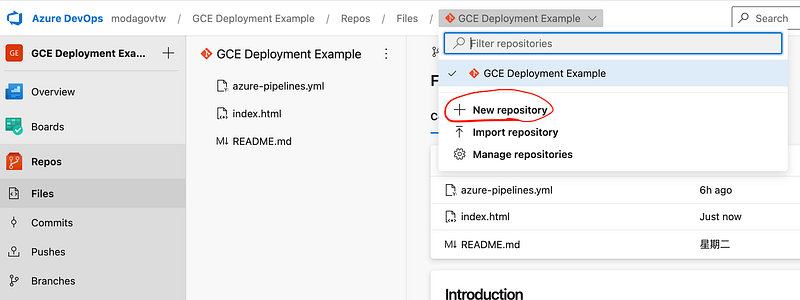
開新的Repo
在原本的Project中,可以再多開一個Repo儲存NGINX設定。
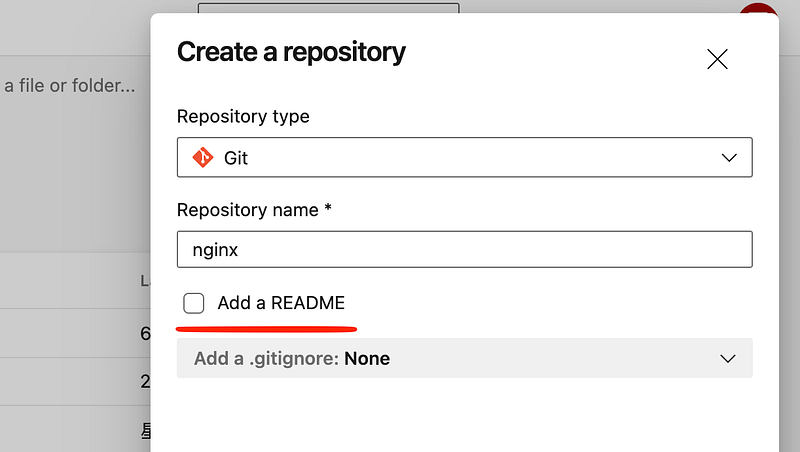
不用勾 Add a README
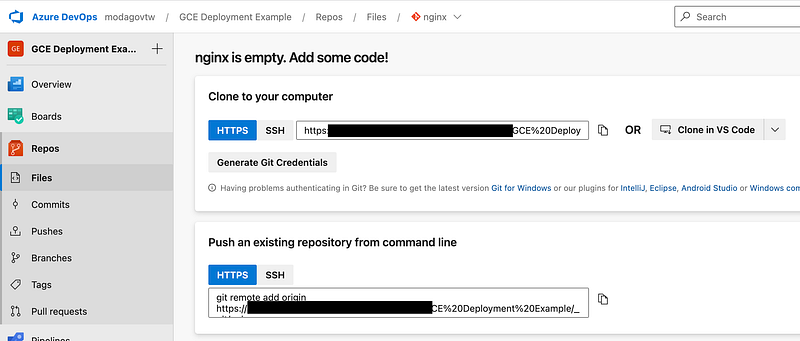
看到下面的畫面代表開好了
把NGINX config 推到git
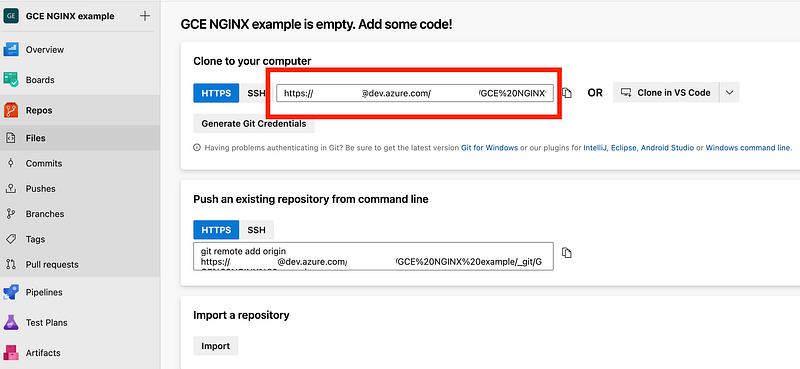
先複製下圖的這部分,我們將Server上目前的NGINX config放到git上
#後面腳本會用到nginx指令,需要加入sudo免密碼權限echo 'azure ALL=(ALL) NOPASSWD: /usr/sbin/nginx' | sudo tee -a /etc/sudoerssudo chown -R azure /etc/nginx
cd /etc/nginxgit initgit branch -M maingit add .git -c user.name='nginx' -c user.email='nginx' commit -m "Init"git remote add origin XXXXXX #這邊填入剛剛上面的網址git push -u origin main輸入完上面指令會發現需要一個密碼,密碼可以到Personal Access Tokens產生一組,參考微軟文件。回到Repo就會發現,NGINX config已經上到repo了,剛剛產生的Personal Access Tokens已經不需要了,可以把它刪掉。
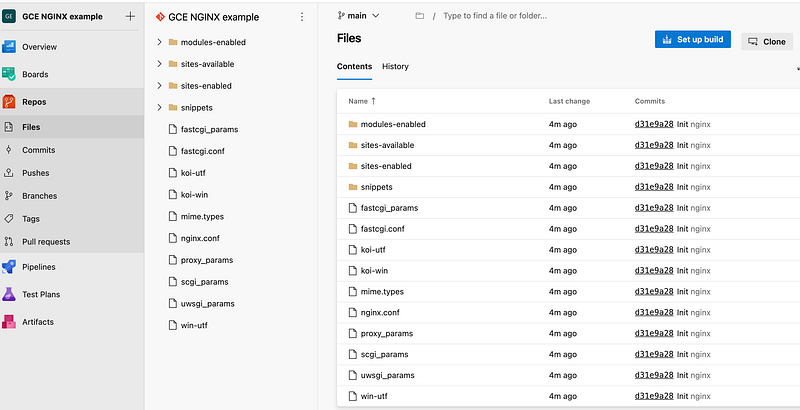
新增azure-pipelines.yml
我們新增一個azure-pipelines.yml,並輸入以下內容,將NGINX設定檔自動複製到/etc/nginx,並檢查是否正確,再重新reload NGINX。
trigger:- main
pool: vmImage: ubuntu-latest
jobs:- deployment: VMDeploy displayName: Deploy to VM environment: name: Production resourceType: virtualMachine strategy: runOnce: deploy: steps: - checkout: self - script: rsync -avh --cvs-exclude '$(Build.SourcesDirectory)/' /etc/nginx - script: sudo nginx -t && sudo nginx -s reload || exit 1新增pipeline
新增一個pipeline綁到剛剛新增的repo,這樣就完成部署了。
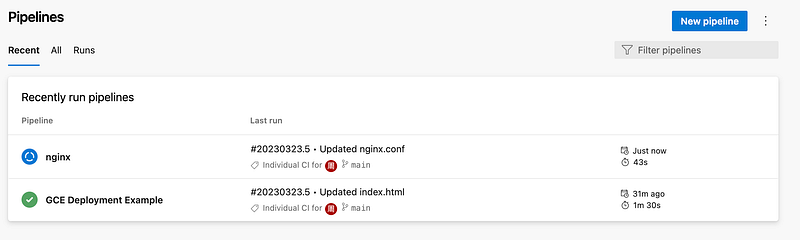
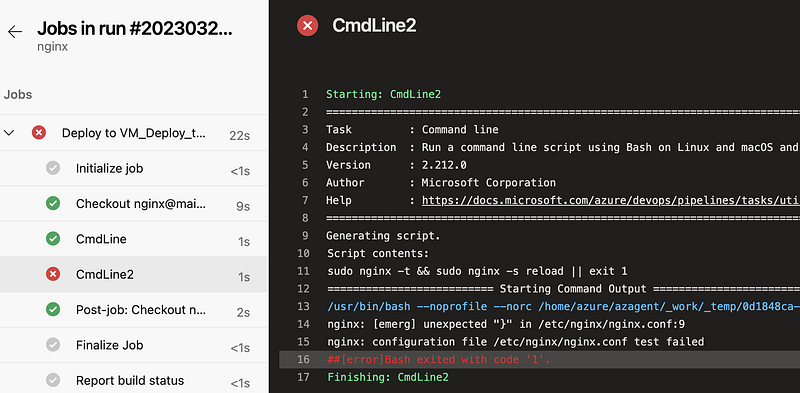
如果部署nginx語法有誤則會噴出錯誤
結語
透過在同一個project,開多個repo,可以共用environment,並管理AP與NGINX的部署狀況。